St. Patrick's Day is just around the corner and given that I'm Irish (or partly- have a little French and English too) I've always loved the holiday. It may be because for as long as I can remember my dad, my sister, and me walked in the parade (complete with Irish American Heritage sashes on) as my mom waved from the sidelines. Or maybe it was because the whole day was filled with merriment, laughter, and good food (I for one love corned beef and cabbage with boiled potatoes.) Whatever it was, the day holds some of my fondest childhood memories and therefore still makes me all happy when it finally arrives.
Because of that, I thought I'd play around with painting different compositions of shamrocks and share my favorite with you all. In the end, I created a shamrock bouquet (complete with a twine bow) for you all to share the luck of the Irish with your friends and family. Enjoy!

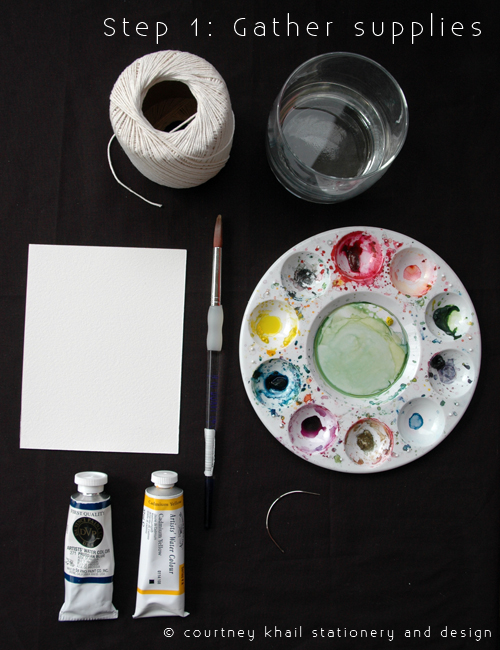
Step 1: Gather your supplies. You'll need blue and yellow paint (or just green if you want to take the easy way out,) water, a brush, a piece of watercolor paper, twine, yarn, or string, and a needle. I used an upholstery needle because the eye was large enough for my twine and the needle was sturdy enough to poke through the paper.

Step 2: Make green paint (by mixing yellow and blue together) and paint a shamrock. I know we all learned this in elementary school, but in case that was just my school, a shamrock is simply 3 (or 4) hearts connected together at their base. Let it fully dry before continuing. (This is when I did a load of laundry)

Step 3: Add some more yellow to the green paint (just to add some interest) and paint a second shamrock. Let dry (and if you're me, put the clean clothes in the dryer.)

Step 4: Add some more blue this time, and paint a third shamrock. Don't be afraid to let them overlap. It creates a really pretty layering affect.

Step 5: After everything is dry, thread your needle. Coming from the back of the card, poke the twine through the paper just to the left of the stems.

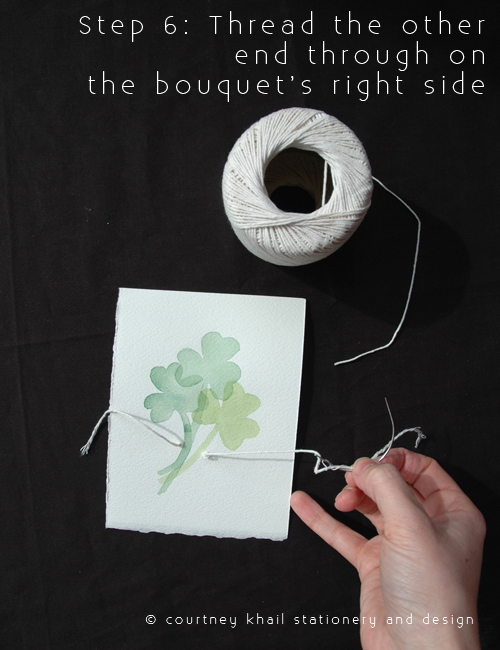
Step 6: Thread the other end of the twine and repeat- coming through on the right right of the stems.

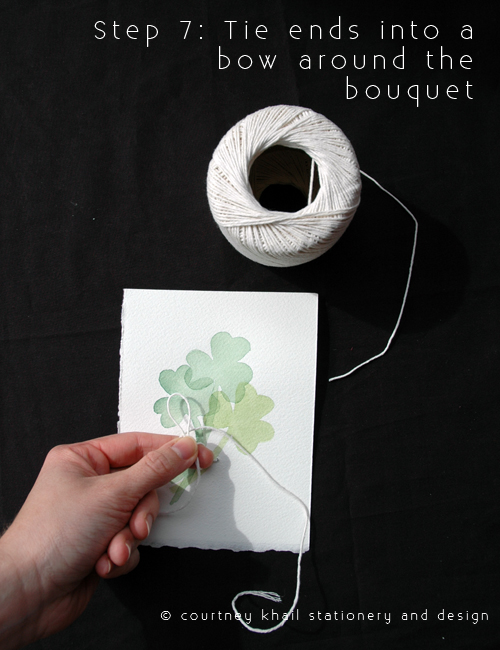
Step 7: Tie the two ends into a bow and cut any extra twine that may be there.

Step 8: Write a message and send off to someone who needs some luck. (Might I even suggest a gold or green envelope? Because that would make this even better. Oh! Or maybe package everything up and fill it with gold chocolate coins and rainbow colored shredded paper. The possibilities are endless...)


